
Piriformis syndrome causes pain deep in the buttock—a dull ache, burning, or sharp pain that can radiate down the back of the thigh, closely mimicking sciatica. The piriformis is a small muscle that runs from the sacrum to the femur and, in many people, the sciatic nerve passes directly through or beneath it. When the muscle becomes tight or inflamed, it compresses the nerve. Incorporating specific exercises for piriformis syndrome, such as the seated stretch or the “figure-four” stretch, can help release this tension and alleviate the pressure.
The most effective exercises for piriformis syndrome are targeted piriformis stretches, hip strengthening exercises, and neural gliding techniques – performed consistently to release muscle tightness, restore normal hip mechanics, and reduce nerve irritation.
The Core Exercises
Exercise 1 – Supine Piriformis Stretch (Figure-4 / Pigeon Pose on Back)
This is the most important stretch for the piriformis and should form the foundation of your routine.
How to do it:
- Lie on your back with knees bent, feet flat on the floor
- Cross the affected leg over the opposite knee – ankle resting just above the other knee (figure-4 position)
- Flex the foot of the crossed leg to protect the knee
- Either hold here (if you already feel a stretch) or gently pull the opposite thigh toward you
- Hold for 30-60 seconds; repeat 3 times per side
- Do 2-3 times daily
You should feel a deep stretch in the buttock, not the knee.
Exercise 2 – Standing Piriformis Stretch
A variation for those who find floor work difficult:
- Stand with the affected leg crossed over the opposite knee (like sitting cross-legged while standing)
- Slowly bend the standing knee and sit back slightly – like sitting into a chair
- Hold for 30-60 seconds
- Hold a wall or chair for balance if needed
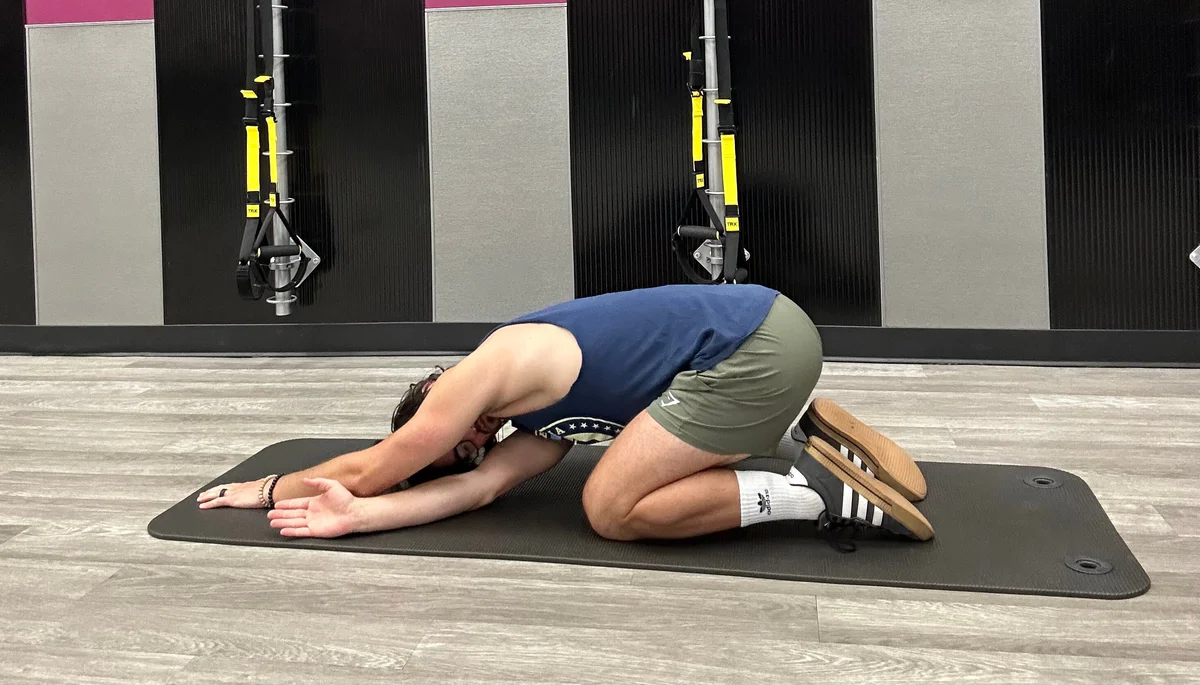
Exercise 3 – Hip External Rotator Stretch (Seated)
- Sit at the edge of a chair
- Place the ankle of the affected leg on the opposite knee
- Keep your back straight and gently lean forward from the hips
- Hold 30-60 seconds
- Repeat 3 times per session
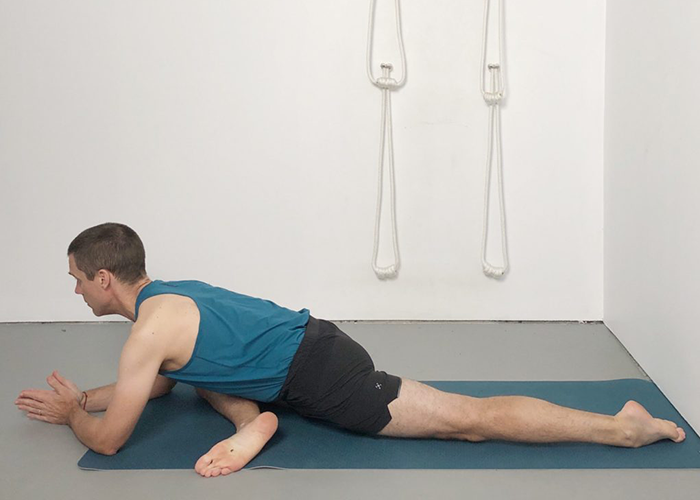
Exercise 4 – Hip Flexor Stretch (Kneeling Lunge)
Tight hip flexors contribute to piriformis overload by altering pelvic position:
- Kneel on the affected side’s knee
- Opposite foot forward in a lunge position
- Gently push hips forward until you feel a stretch in the front of the hip
- Hold 30-60 seconds; repeat 3 times
Exercise 5 – Clamshell (Hip Abductor Strengthening)
Weakness in the gluteus medius causes the piriformis to overwork – this exercise addresses that root cause:
- Lie on your side with hips and knees bent to 45 degrees
- Keep feet together and rotate the top knee upward (like a clamshell opening)
- Don’t let the pelvis roll back
- 3 sets of 15 repetitions per side
- Progression: add a resistance band above the knees
Exercise 6 – Glute Bridge
Strengthens gluteus maximus and medius, reducing piriformis burden:
- Lie on your back, knees bent, feet hip-width apart
- Push through heels to lift the hips off the floor
- Squeeze glutes at the top; hold 2 seconds
- Lower slowly
- 3 sets of 12-15 reps
Exercise 7 – Neural Glide (Sciatic Nerve Mobilisation)
When the sciatic nerve is irritated, gentle neural mobilisation helps:
- Sit in a chair with good posture
- Extend the affected leg out straight
- Flex the foot (toes toward you), hold 2 seconds
- Then point the foot (toes away), hold 2 seconds
- Do 10-15 repetitions; no sharp pain – should be mild tension only
Sample Routine
| Exercise | Frequency | Sets/Reps |
|---|---|---|
| Supine piriformis stretch | 2-3x daily | 3 × 30-60 sec |
| Seated piriformis stretch | 2x daily | 3 × 30-60 sec |
| Hip flexor stretch | Daily | 3 × 30-60 sec |
| Clamshell | Daily | 3 × 15 each side |
| Glute bridge | Daily | 3 × 12-15 |
| Neural glide | Daily | 1 × 15 reps |
What to Avoid During Recovery
- Prolonged sitting – compresses the piriformis; take standing breaks every 30-45 minutes
- Running through pain – aggravates the nerve
- Deep squats – until acute phase resolves
- Sitting on hard surfaces – use a cushion
Foam Rolling the Piriformis
Self-myofascial release can complement stretching:
- Sit on the foam roller with the affected leg crossed over the opposite knee
- Roll slowly over the deep gluteal area
- Pause on tender spots for 20-30 seconds
- 2-3 minutes per side
When to See a Physiotherapist
Seek professional assessment if:
Bottom Line
Piriformis syndrome responds well to consistent stretching and hip strengthening. The figure-4 piriformis stretch is the most important single exercise – done 2-3 times daily over 4-8 weeks, it reliably reduces piriformis tightness and nerve irritation. Strengthening the gluteus medius (clamshell) addresses the mechanical reason the piriformis became overloaded in the first place. Avoid prolonged sitting, be consistent, and results typically appear within 4-8 weeks.
Leave a Comment